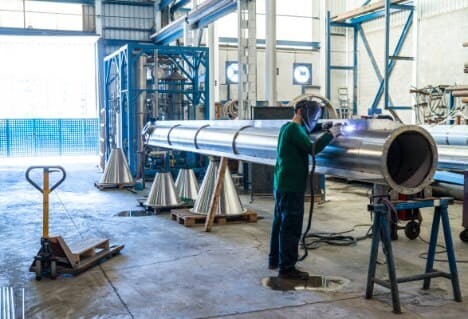
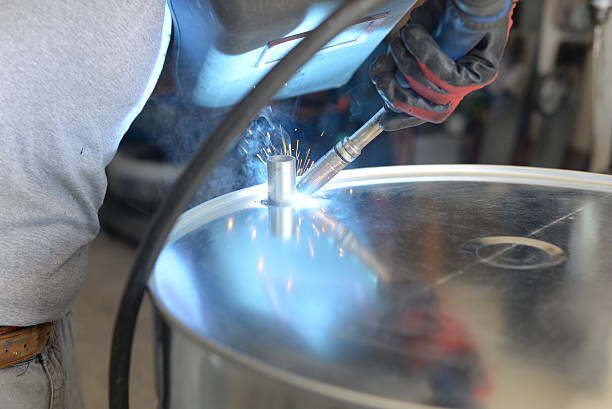
Welding stainless steel presents challenges that differ from carbon steel. Its relatively low thermal conductivity paired with high coefficient of thermal expansion means heat is less readily dissipated, and localized expansion/contraction tends to cause distortion, warping, or misalignment. (Austenitic stainless alloys in particular are prone to these issues.)
But with the right strategies, you can weld stainless steel without warping. In this article we dive into key factors to prevent warping, then explore welding methods and techniques to minimize distortion, and conclude with practical tips and corrective measures.

I. Why Does Stainless Steel Warp During Welding?
Before jumping into solutions, it’s useful to understand how distortion arises in stainless steel welding.
Mechanisms of Distortion:
As weld metal and the heat-affected zone (HAZ) are heated, they expand locally. On cooling and solidification, they shrink. If that shrinkage is constrained unevenly, residual stresses cause permanent deformation.
The thermal gradients (hot weld vs colder surroundings) exacerbate the differential expansion and contraction.
Distortion comes in various modes — longitudinal shrinkage, transverse contraction, angular distortion, or more complex warping / buckling / bowing.
In stainless steels, the problem is more acute because heat does not dissipate quickly (low conductivity), so heat tends to linger locally.
Because distortion is essentially inevitable to some degree, the goal is control — managing heat, balancing shrinkage forces, and using fixtures and sequencing to minimize warp.
II. Key Factors to Prevent Warping in Stainless Steel Welding
To weld stainless steel without warping (or at least with minimal distortion), focus on the following fundamental factors:
1. Heat Input Control
The total heat introduced per unit length (amperage, arc voltage, travel speed) must be limited. High heat input increases the zone of thermal influence and thus more shrinkage stress.
Use pulsed welding modes (where available) to reduce average heat input while still achieving acceptable penetration.
Optimize travel speed so the arc does not dwell too long in one spot, and avoid traveling too slowly (which overheats local areas).
2. Proper Material Preparation & Cleanliness
Remove all surface contaminants (oxide scale, grease, rust) prior to welding; these can trap heat or interfere with uniform heating.
Use dedicated stainless steel brushes and tools, to avoid contamination by iron or carbon steel which could degrade weld quality or cause corrosion issues.
Ensure tight, accurate fit-up and alignment. Gaps or poor joints force extra weld metal and more heat, increasing distortion potential.
3. Joint Design & Weld Volume
Minimize the volume of weld metal consistent with strength and code requirements. Over-welding yields more shrinkage and more distortion.
Use simpler joint geometries, double V or balanced joint designs, to spread shrinkage forces symmetrically.
Place welds closer to the neutral axis of the structure when possible to reduce leverage of shrinkage forces.
4. Tack Welding, Clamping & Fixturing
Tack weld frequently and evenly (closer spacing than with carbon steel) to hold parts rigidly in place and preempt movement under heat.
Use stainless steel clamps or fixtures so as not to introduce contamination. Fixtures also resist movement and absorb some heat.
Employ heat sinks or “chill bars” (e.g. copper or massive plates clamped adjacent to weld) to draw heat away and reduce hot spots.
5. Balanced Welding Sequencing
Alternate welding sides or segments to counteract shrinkage forces. Balanced welding helps cancel distortion.
Use back-step welding (welding segments incrementally in the reverse direction) to distribute heat more evenly and avoid cumulative draw.
For long welds, use intermittent welding (stitch or skip welds) rather than a continuous bead to limit heat build-up.
Pre-plan the welding sequence so earlier welds do not overly constrain later ones, allowing shrinkage to “work against” each other.
III. Welding Methods & Techniques to Minimize Warping in Stainless Steel Welding
Selecting the right welding method and applying techniques suited to distortion control are key to distortion-free welds.
1. TIG (GTAW) for Precision & Low Heat
TIG welding offers the finest control over heat input and arc stability, making it well-suited for thin stainless steel parts or welds demanding high aesthetic or dimensional quality.
Use autogenous welds (no filler) when material thickness permits; this minimizes filler volume and reduces heat load. In tube/pipe work, thin walls may allow autogenous welding.
Utilize pulsed TIG modes (if equipment supports them) to further regulate heat input and reduce distortion.
2. MIG / Wire-Feed Methods (GMAW, Pulsed MIG, RMD variants)

For thicker sections or less critical parts, MIG or pulsed MIG is faster. But to avoid distortion, parameter control is essential.
Use modified processes (e.g. regulated metal deposition or controlled short-circuit transfer) that reduce heat input and stabilize droplet transfer. These help reduce distortion in stainless steel pipe/structure welding.
Use shielding gas combinations that maintain weld protection without adding excess heat or carbon contamination (e.g. argon with small additions of CO₂ or O₂).
3. Other Techniques & Hybrid Approaches
Intermittent welds / stitch welds are especially effective over long seams or large panels to reduce heat accumulation.
Back-stepping or skip-back methods help spread heat evenly and limit distortion.
Cool-down breaks: Pause between weld passes to allow the component to partially return to equilibrium, reducing cumulative heat buildup. (As some welders advise: “Take breaks in-between each one; less heat = less distortion.”)
Preheating / controlled preheating: For certain thicker components, a mild preheat reduces thermal gradients between weld and base, thereby mitigating distortion. But stainless steels should be carefully controlled since overheating can degrade corrosion resistance.
IV. Putting It All Together: A Workflow for Distortion-Free Stainless Steel Welding
Here’s a suggested workflow combining the above principles:
1. Design & planning stage
Minimize welding volume in the design
Plan balanced weld placement
Consider fixturing, heat sinks, and movement compensation
2. Material prep
3. Fixturing & tack welding
Secure the parts with stainless clamps or fixtures
Insert tack welds at close spacing (closer than carbon steel norms), distributed symmetrically
4. Weld sequencing & technique
Weld in balanced fashion (alternating sides)
Use back-step or skip welds for long joints
Use pulsed or low-heat modes
Pause between passes as needed
5. Heat control & management
6. Post-weld checking and correction (if needed)
Measure for distortion
Apply mechanical (press, clamps) or thermal (line or spot heating) straightening as necessary
Allow controlled cooling to avoid abrupt contraction
V. Additional Tips & Best Practices (Distortion-Free Tips)
Avoid overwelding: Do not oversize welds beyond design needs—more weld means more shrinkage and distortion.
Balance shrinkage forces: Try to counteract contraction by welding symmetrically around the neutral axis.
Use chill blocks or backing bars: Copper, aluminum or other heavy backing can absorb heat from the weld zone and reduce distortion.
Use wet rags or cooling between passes carefully: In non-critical welds, lightly cooling weld regions (e.g. with damp cloths) can reduce heat buildup—but avoid thermal shock or cracking.
Use strongbacks or bracing: For long plates or stiffeners, a rigid backing bar or strongback can mitigate bowing.
Thermal correction: If distortion appears, targeted local heating (wedge, line, spot heating) or mechanical pressing can help straighten the workpiece.
Gradual cooling: Avoid quenching or abrupt cooling; allowing the weldment to cool uniformly helps relieve stresses gently.
VI. When Distortion Has Occurred: Corrective Measures
If, despite your best efforts, some distortion or warping remains, here are common corrective techniques:
Mechanical straightening: Using a press or jigs to push or bend the part back; use packing pieces sized for over-correction to compensate for spring-back.
Thermal straightening: Locally heating the opposite side of a distorted zone (e.g. wedge or line heating) so that on cooling, contraction “pulls” the metal back. But avoid overheating or altering metallurgical properties.
Incremental corrections: For long components, correct distortions in small, sequential segments rather than attempting to force the entire piece flat in one go.
Conclusion
Welding stainless steel without warping is a blend of art and control: you must manage heat, balance shrinkage, and use disciplined sequencing and fixturing. Focus on these key principles:
Limit heat input
Minimize weld volume
Ensure tight preparation and fixturing
Use balanced sequencing (intermittent, back-step, alternating sides)
Apply corrective methods if necessary
With these strategies, distortion can be kept to a negligible level, resulting in clean, dimensionally accurate stainless steel welds. Whether working on structural, aesthetic, or precision components, mastering these tips will help ensure your welds remain strong, clean, and distortion-free.
Related articles:
1. Welding Deformation Causes, Classification, Hazards & Preventive
2. How to Weld Stainless Steel: Tips and Tricks
3. How To MIG Weld Stainless Steel Like a Pro?
4. TIG Welding Stainless Steel: A Beginner's Guide
5. Stainless Steel Weld Cleaning: A Complete Guide to Methods & Techniques


